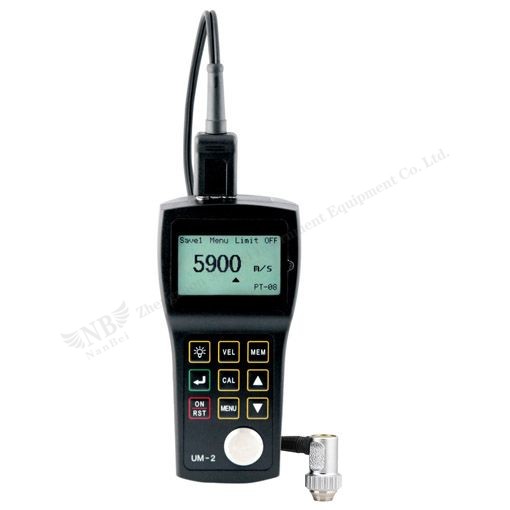
Ultrasonic Thickness Gauge
NANBEI Is Professional On Providing One-step Solution Of Laboratory Instruments And Equipment
Specifications and Accessories of UM-2 ultrasonic thickness gauge
Operating principle:
Ultrasonic pulse/echo method with dual-crystal probes
Probe zero adjustment:
Selectable: 1-point calibration: normal measurement
2-point calibration: curve surface measurement or other special application with a high precision
V-path correction:
Automatic
Measuring range:
0.8mm to 300mm; (Depending on probe, material and surface condition)
Display Resolution:
H<100mm : Selectable 0.01mm/0.1mm
H≥100mm : 0.1mm
Units:
inch or mm
Display:
128×64 dot-matrix LCD screen with EL backlight (42mm×57mm)
Measurement update rate:
4 Hz in standard measurement mode
Material velocity range:
1000 to 9999 m/s
Power:
Two 1.5V AA alkaline batteries (Warning with low battery voltage)
Operating time:
Up to 200 hours (without backlight) with alkaline batteries, depending on operating mode
Auto shut-off:
After 5 minutes of non-use
Operating temperature:
-10℃ to +50℃ (Specification to -20℃ on request)
Size:
149mm×73mm×32mm (H×W×D)
Weight:
200g; 7oz (including batteries)
Data logger capacity:
Up to 500 readings can be divided into a maximum of 5 files (user-selectable)
Operating language:
English and Chinese
Measuring error:
Up to 10mm:±0.05mm
Above 10mm: ±(0.5%H+0.01)mm
H is the height of the testing object
Repeatability:
±0.05mm
Application software:
UMVIEW
Interfaces:
Serial RS 232C port in combination with a communicative cable;
Standard package:
UM-2 thickness gauge
Standard probe (PT-08)
Carrying case
Two 1.5V AA alkaline batteries
Couplant
Operating manual
Certification of quality
Packaging list
Optional Accessories:
Attachable Rubber Sheath
Numerous special probes on request
Couplant and high-temperature couplant
4-step/5-step/6-step calibration block
Application software with Data transmission cable
